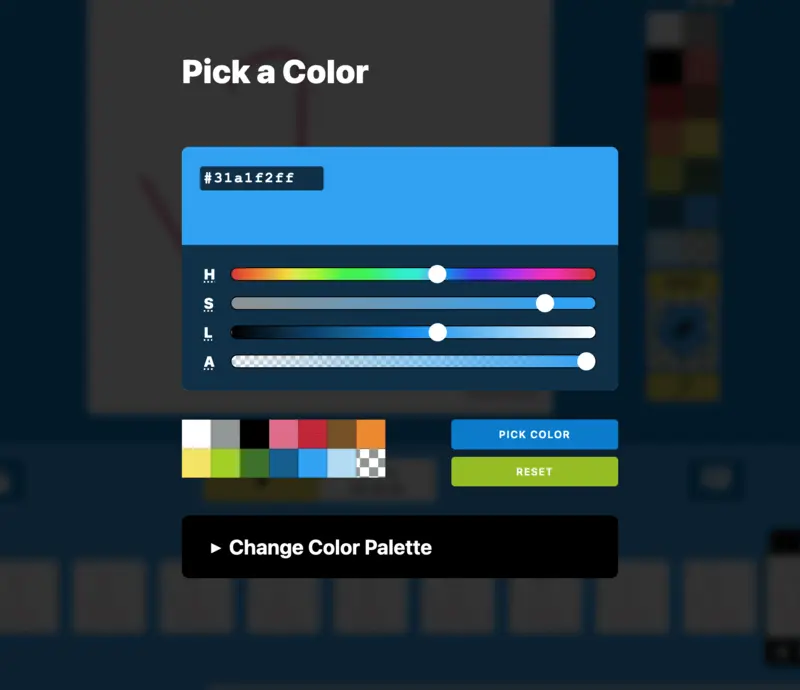
I recently needed to create my first custom element - a custom color picker. I wanted to improve the color picker feature on Brush Ninja however I couldn’t find an existing solution that met my needs so I decided to take matters into my own hands.
I wanted to make the color picking easy to use, and I wanted it to include an alpha channel. I also wanted to be able to style it to fit in with the rest of the app.
Existing solutions were complex and overkill for what I needed. I wanted something simple and easy to use. After some research, I decided to create my own custom HTML element.

The color picker I created in use on Brush Ninja
What is a Custom HTML Element?
In simple terms, a custom HTML element is a JavaScript file that encompasses all the necessary HTML, CSS, and JavaScript code required to build the element. In my case, the custom element I created consists of default HTML controls (primarily input ranges) and some divs.
The beauty of this custom element is that I can easily incorporate it into any web page and use it just like any other standard HTML element. Whether I choose to embed it as HTML or reference it using JavaScript commands, the browser takes care of all the intricate details in the background. It works just like any other HTML element, but with the added advantage of being customizable and reusable.
The Advantages of Custom HTML Elements
One major advantage of using custom HTML elements is their versatility. With just one piece of code, I can use them across various projects while giving each instance its unique style and appearance. For instance, I’ve added some default styles to my color picker, but intentionally kept them generic so that they can easily adapt to different projects. The fonts inherit from the site’s design, corners can be rounded, and size can be adjusted - providing flexibility for seamless integration.
Happy with My First Attempt
I’m sure there’s plenty of things I have done wrong, or that could be improved, but as a first version I am really pleased with how my colour picker works. I decided to use HSL sliders since I felt that would be easier to understand than using the more common RGB selection. I also added a live preview and some methods so that I can easily access the colour value and get notifications (events) when properties change.
From Drawing App to Custom Element
Now I have made one custom element I have caught the bug and am itching to make more. In fact I have been working on a drawing app for Brush Ninja and am currently in the process of transforming it into a custom element that can be embedded on any website. The progress so far is promising, and I am looking forward to using the tool on my other website.
Using it yourself
Since the code is on GitHub you can use JSDelivr to include it in your own projects.
The example in this blog post uses the following html.
<script src="https://cdn.jsdelivr.net/gh/BinaryMoon/Elemental-Components/color-picker.js"></script>
<color-picker value="#b218cdff" id="select-color"></color-picker>
Creating a custom HTML element has proven to be an effective solution for enhancing the color picker feature on Brush Ninja. It allows for seamless integration, customization, and easy implementation across different projects.
Using custom elements is as simple as using any HTML element and moving forward I will probably make more of these for reusable elements of my websites. I’ll continue to share them on GitHub. If you have any feedback or make use of the code yourself then please do tell me about it.
How was it for you? Let me know on BlueSky or Mastodon
Link to this page
Thanks for reading. I'd really appreciate it if you'd link to this page if you mention it in your newsletter or on your blog.